

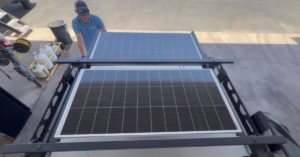
How RV Solar Charging Works: Understanding MPPT Controllers
Discover how an MPPT controller helps your RV solar charging system capture more energy, charge batteries efficiently, and keep you powered during off-grid adventures.
Understanding DC-to-DC Charging: Why It Matters When Towing Your Off-Grid RV
Understanding DC-to-DC charging is one of the most important parts of RV electrical systems, especially when running lithium batteries. Many RV owners assume their batteries charge while towing, only to arrive at camp with less power than expected. Learn how DC-to-DC charging works, why it matters, and how it helps protect your RV’s electrical system while keeping your batteries properly charged.
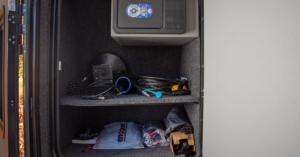
Why RV Lithium Batteries Are Better for Off-Grid Camping
The advantages of RV lithium batteries make them an ideal choice for off-grid camping, from longer-lasting power to lighter weight and better overall efficiency.